This tool allows you to set your own index pages instead of those specified in the default settings. In other words, you can tell your visitors' browsers which page to load as they hit your domain. Usually, it's /index.html by default, but you can set any other custom welcome page.
Example: If a visitor goes to your site http://www.example.com, the first page to open will be http://www.example.com/index.html. However, if you set /welcome.html as the directory index, the page to open will be http://www.example.com/welcome.html.
Warning: your custom index pages won't add to the defaults; they will replace them. Therefore, make sure to enter the full list of indexes you would like to have in your configuration.
To set your custom directory indexes:
index.html cgi.bin about.html).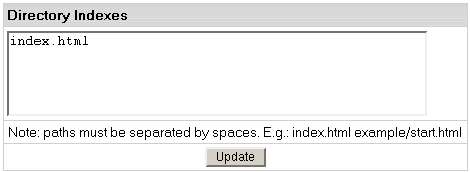
index.html cgi.bin about.html).![]()
If you are using a Unix-based plan, click the Apply link at the top of the Web Service page.